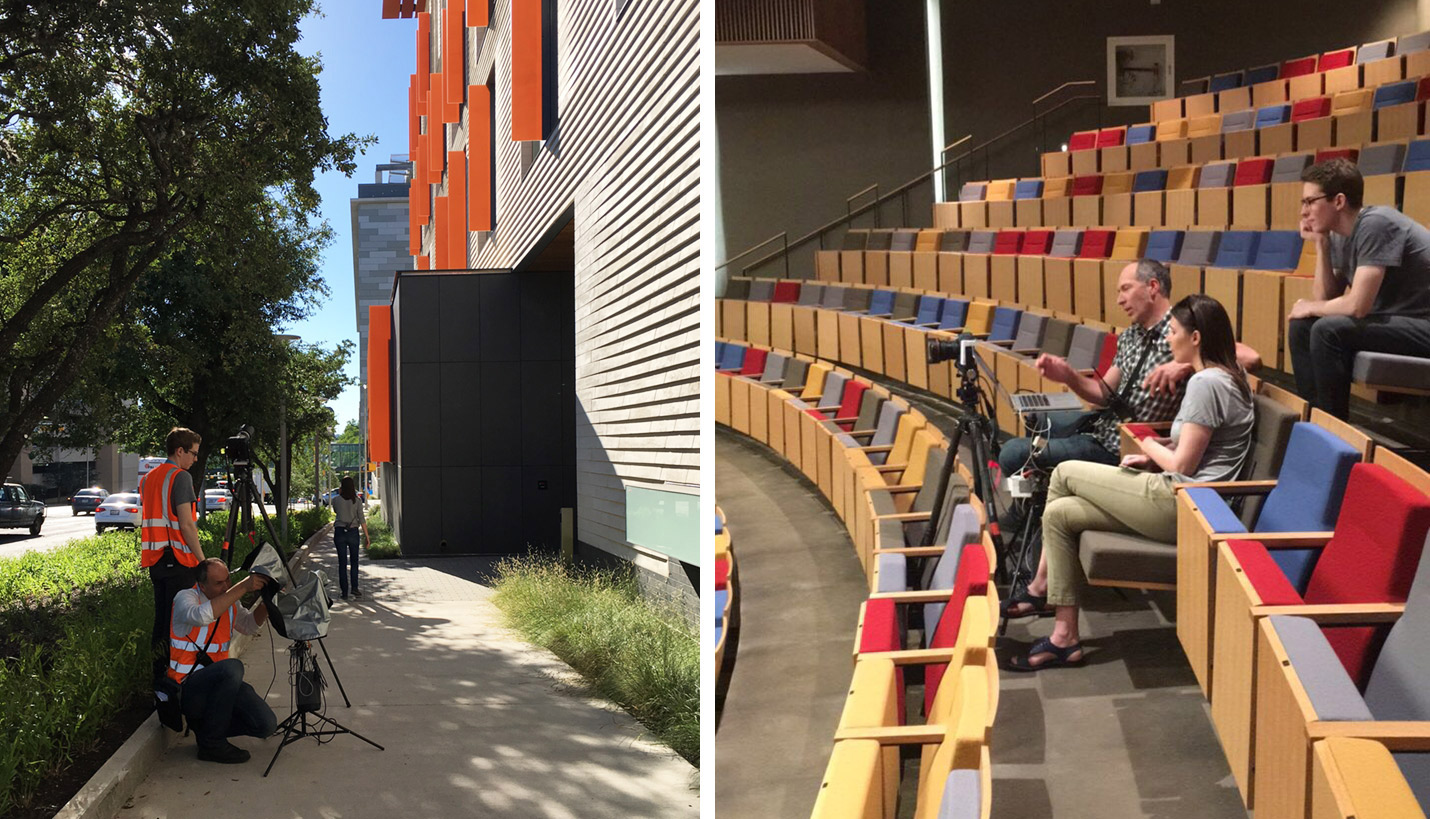

From Good to Great: Elevating Project Photography
Photography is an essential communication tool for design firms to communicate the caliber, type and style of work they do. A well-executed photo shoot requires a great deal of planning and will provide results that tell different stories about the same project for different audiences. Publications, awards juries and potential clients all should be considered when collaborating with the design architect and photographer when scouting a project and creating a shot list.
Necessary elements to elevate your final image gallery from good to great include:
Clarity
- Light. The artful use of light and shadows creates depth and areas of interest. These help a viewer imagine the flat image as three-dimensional.
- Color. This creates mood and should evoke the emotion in a viewer that it would in an actual user of the project.
- Clear / clean. Images should be free of visual clutter, or removable extraneous objects to the extent possible. Reflections in glass should be minimized, views inside windows should show a carefully arranged space.
Positioning
- Context. A good image should make it clear to a viewer what type of project or element they are looking at and how it relates to the larger setting.
- Purpose. Images should show the function of the elements.
- Illustrative. Photographs should show how a project is used and what makes it distinctive from others of its type.
Storytelling
- Establishing shot. This image appears first in a gallery to set the viewer’s understanding of the overall project type and to communicate the “why” it exists.
- Activating elements
1. Design. The gallery of images should visually communicate the strategy behind the project design by showing the primary elements.
2. Materials. These are distinguishing elements.
3. Users. Who uses this project and how? This is most commonly achieved through the use of strategically positioned models who reflect the type of people that benefit from a design, i.e. students, working professionals, athletes, etc.
Shot types
- Project in use.
- Beauty / detail. While the industry has evolved to preferring images of projects activated by users, there are times when a “beauty” shot of only the design are appropriate, as are close-ups that reveal details of fine craftsmanship and/or unique elements.
- Daylight: when relying on natural light even as a supportive source, have a Plan B for stormy weather that eliminates exterior shots and dramatically changes the tone and temperature of daylit spaces. Bonus tip: either plan to scout certain angles at different times of the day to evaluate changes in lighting for optimal images or retake a shot several times during the day.
Preparation:
- Advance coordination with the owner/client, facility manager, project users and models can be time-consuming but very worthwhile during the actual shoot to ensure full access, ability to control interior lighting and reduced “traffic control”.
- Elimination of visual clutter. Even with meticulous planning, a photography team often will need to remove elements of everyday use such as excess seating, desktop items, etc. – then put it all back. This time should be factored into shoot planning.
Last but not at all least is the relationship(s) with photographer(s). Ideally, there is good communication between all parties that allows the photographer to understand the overall intent of the project and offer their own supporting ideas. The photographer’s rapport with project designers, client photography coordinator and models can make a shoot much more productive. A relationship(s) with a photographer(sw) can also help a firm standardize the quality and style of their portfolio.
06/01/2017


